Token Dialog
You can view, modify, and format tokens in the Token Dialog. The ![]() Token Dialog gives you the flexibility to configure tokens to meet your needs.
Token Dialog gives you the flexibility to configure tokens to meet your needs.
To use the Token Dialog
- Click the Token button (right arrow)
 next to the text box you want to enter a token in. For example, if you are working with the Create New Token activity, click Create... to see this arrow.
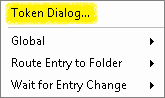
 - Select
 Token Dialog.
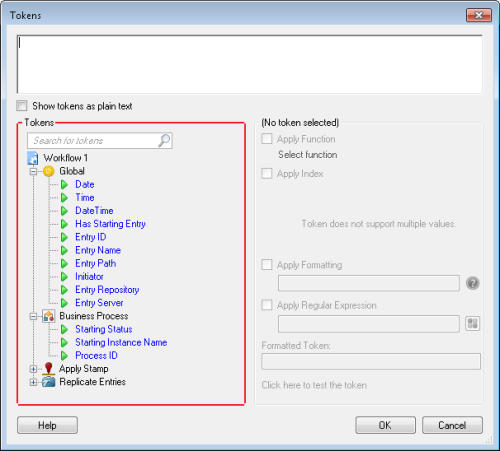
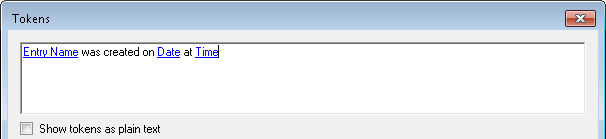
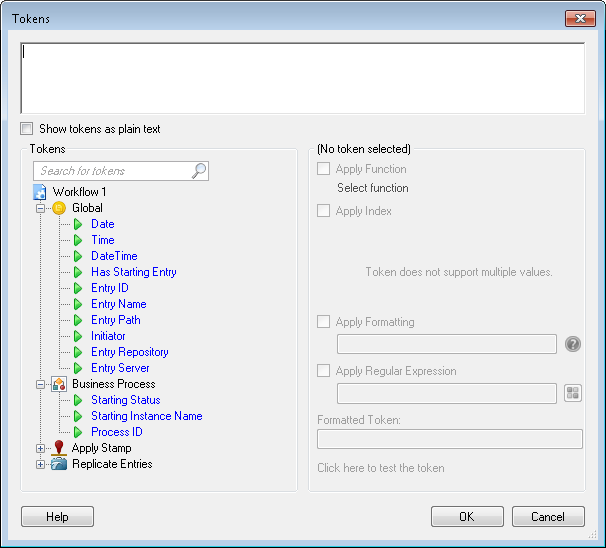
 - In the Tokens dialog box, select a token. The Tokens section displays tokens you can select. Available options include: standard tokens, business process tokens, and tokens specific to the activities in your current workflow definition. Show me an example. To find a specific token, expand the activity that produces the token you are looking for or type a token name in the Search for tokens field at the top of the list (e.g., to find tokens that have "Date" in their names, type "Date").
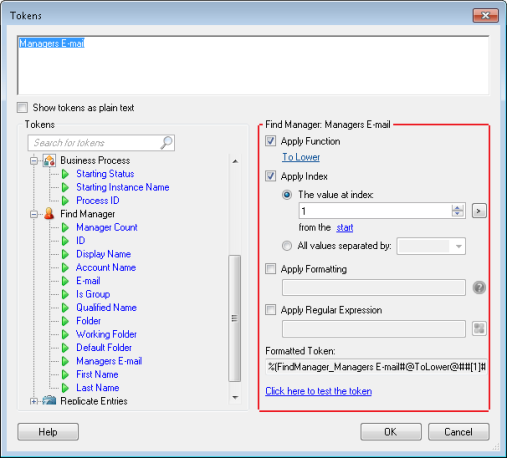
- Configure the selected token. The right pane enables you to configure the selected token with regular expressions, indexing, and/or formatting. See the Token Editor help file for how to configure these options using Apply Function, Apply Index, Apply Formatting, and Apply Regular Expression.
- Optional: Add text or more tokens. The top pane displays the token you have selected to use. You can type text alongside this token. This text is included with the token in the text box from which you opened the Token Dialog. Additionally, you can configure more tokens by repeating steps 3-5. Click Show token as plain text (below this pane) to show how the text appears in the original text box.
- Click OK.